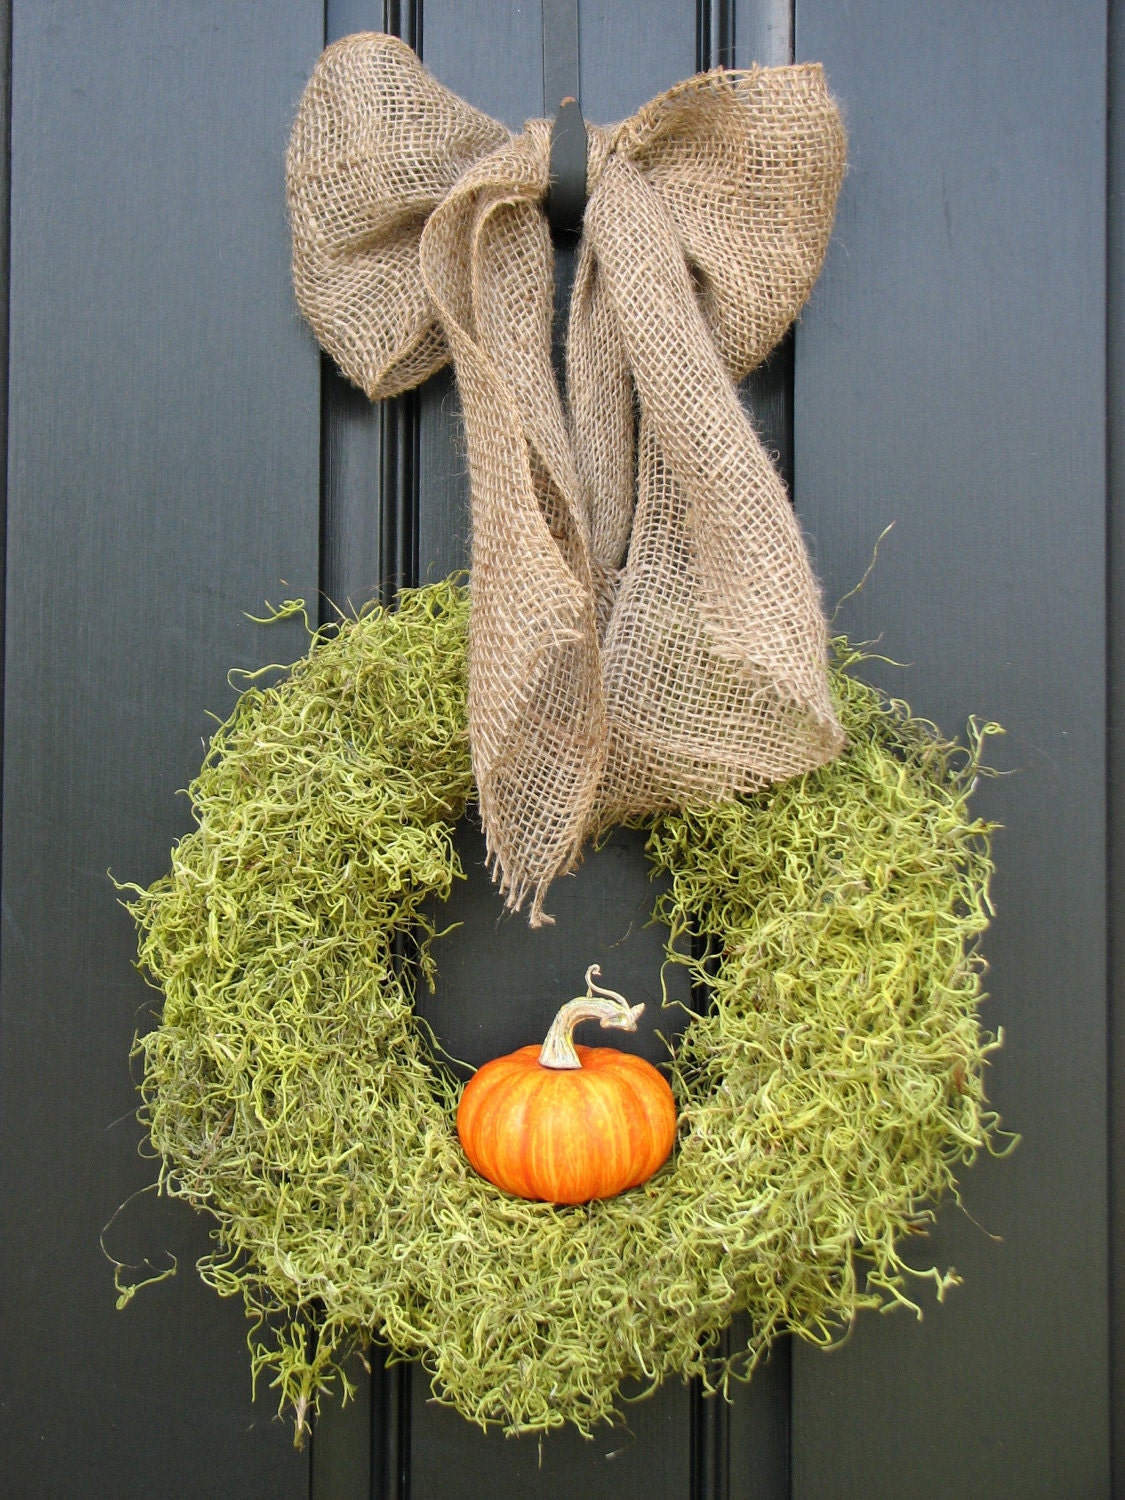
I must be in a crafty mood because I feel like I have a lot of tutorials to show you. Remember the wreath below?
Well I got around to making my own this week. I was really pleased with how it turned out.

Here's what you'll need:
1. wreath form {Michael's $5.99}
2. green moss {I had some left over but I also saw some at Michael's for $3.99}
3. pumpkin{s} or fall decor of your choice {Michael's $1.97}
4. ribbon/burlap if you would like to hang your wreath
5. and your handy glue gun/hot glue

1. Start by covering wreath base with moss. I went around the front first, then did the inside, and finally around the back. Glue, moss, glue, moss, glue, etc....

And keep going...

2. Keep going, all the way around. Fill in any empty spaces with more moss. Here's what you'll have:

3. Add pumpkin by putting a LOT of hot glue on the bottom of the pumpkin and attach to middle of inside of the wreath.

I decided that I wanted to hang mine in my kitchen so I didn't add any ribbon or burlap. Mine is just hanging from a nail which you can't see at all because there is so much moss. It is a pretty fragile wreath so I think it might be best kept indoors. Or you could use a less fragile moss than I did and it would look great on a front door. And one last thing to note, my moss had some green dye so my nice white grout and tile turned a nice shade of green. After some bleach it is as good as new but I definitely should have put down some newspaper.

And to make my Fall wreath into a Winter wreath I'm thinking of removing the pumpkin {got to love hot glue for the ease of removing} and put some ornaments up instead.

No comments:
Post a Comment