Wednesday, November 9, 2011

Christmas Tree

I'm pretty sure that a regular Christmas tree would spell DISASTER this year in our house. With a one year old completely mobile, wanting to pull up on everything and putting everything in her mouth, yes I am pretty sure a Christmas tree would be a disaster. My solution, get a Charlie Brown size Christmas tree and plop it on top of a nice round table. We won't get our tree until the 1st week of December but a few ideas in November never hurt anyone. Here's a few pictures that got me inspired {you can find the sources directly on my pinboard here}:


Tuesday, November 8, 2011

Wallpaper Lined Bookcase

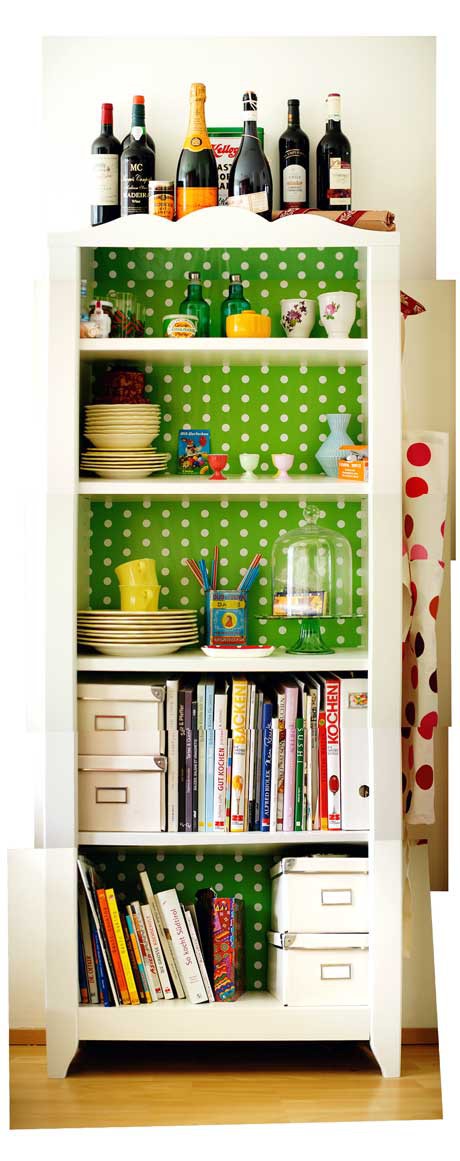
I just finished refinishing a bookcase for the family room {I'll post pictures soon}. I painted it a dark grey color and would love to line the back with wallpaper to add some light. See the pictures below for some great inspiration. You could also use wrapping paper if you wanted a cheaper option. 


Pinned Image


Monday, November 7, 2011

Paperwhites

I can't believe its already November, which means it's time to plant paperwhites. They are really easy to plant and are the perfect natural Christmas touch. Don't have a green thumb? No worries, anyone can grow paperwhites. All you need is some pebbles, containers and bulbs. Fill your container half way with the pebbles and place the bulbs directly on top of the pebbles. Water about once a week and in a few weeks you'll have some lovely flowers. I like using a clear glass or more rustic looking container but anything will work. They will look just like this:


I have always grown them on pebbles but I think I'm going to try and plant some in my flower boxes outside this year. Hopefully it turns out. If you want them around all season long, plant in batches. That way you'll always have some in bloom. They are also the perfect hostess gift for holiday parties. Here are some photos for inspiration:

sofa table with topiaries

Pinned Image


centerpiece of paperwhites

[paperwhites+in+glass+containers+via+Real+Simple.jpg]

Happy Planting!

Friday, November 4, 2011

Chalk Paint Chairs {part 1}

I love how these chairs turned out, and the best part about them was that I got them for FREE! Yes, I was one of those people loading my car full of chairs picked up from a neighbors front lawn with a nice sign that said FREE. My mom was watching the little one and she left only to return 5 minutes later to inform me that there were some cute chairs that I could refinish that were FREE. Initially I said no, not today but I sat and looked at the little one and said let's go I need those chairs {for what I had no idea but I needed them}! I took 4 chairs and left the table. After my initial experience with Annie Sloans chalk paint, I knew that's what I wanted to use. These chairs had seen better days, but were perfectly distressed in my eyes, perfect condition for chalk paint. 

Here they were before:


After a couple of coats of Graphite chalk paint:


 After I applied the clear wax and dark wax. You can see the dark wax really helps to fill in the grooves that were in the details at the top of the chair. 

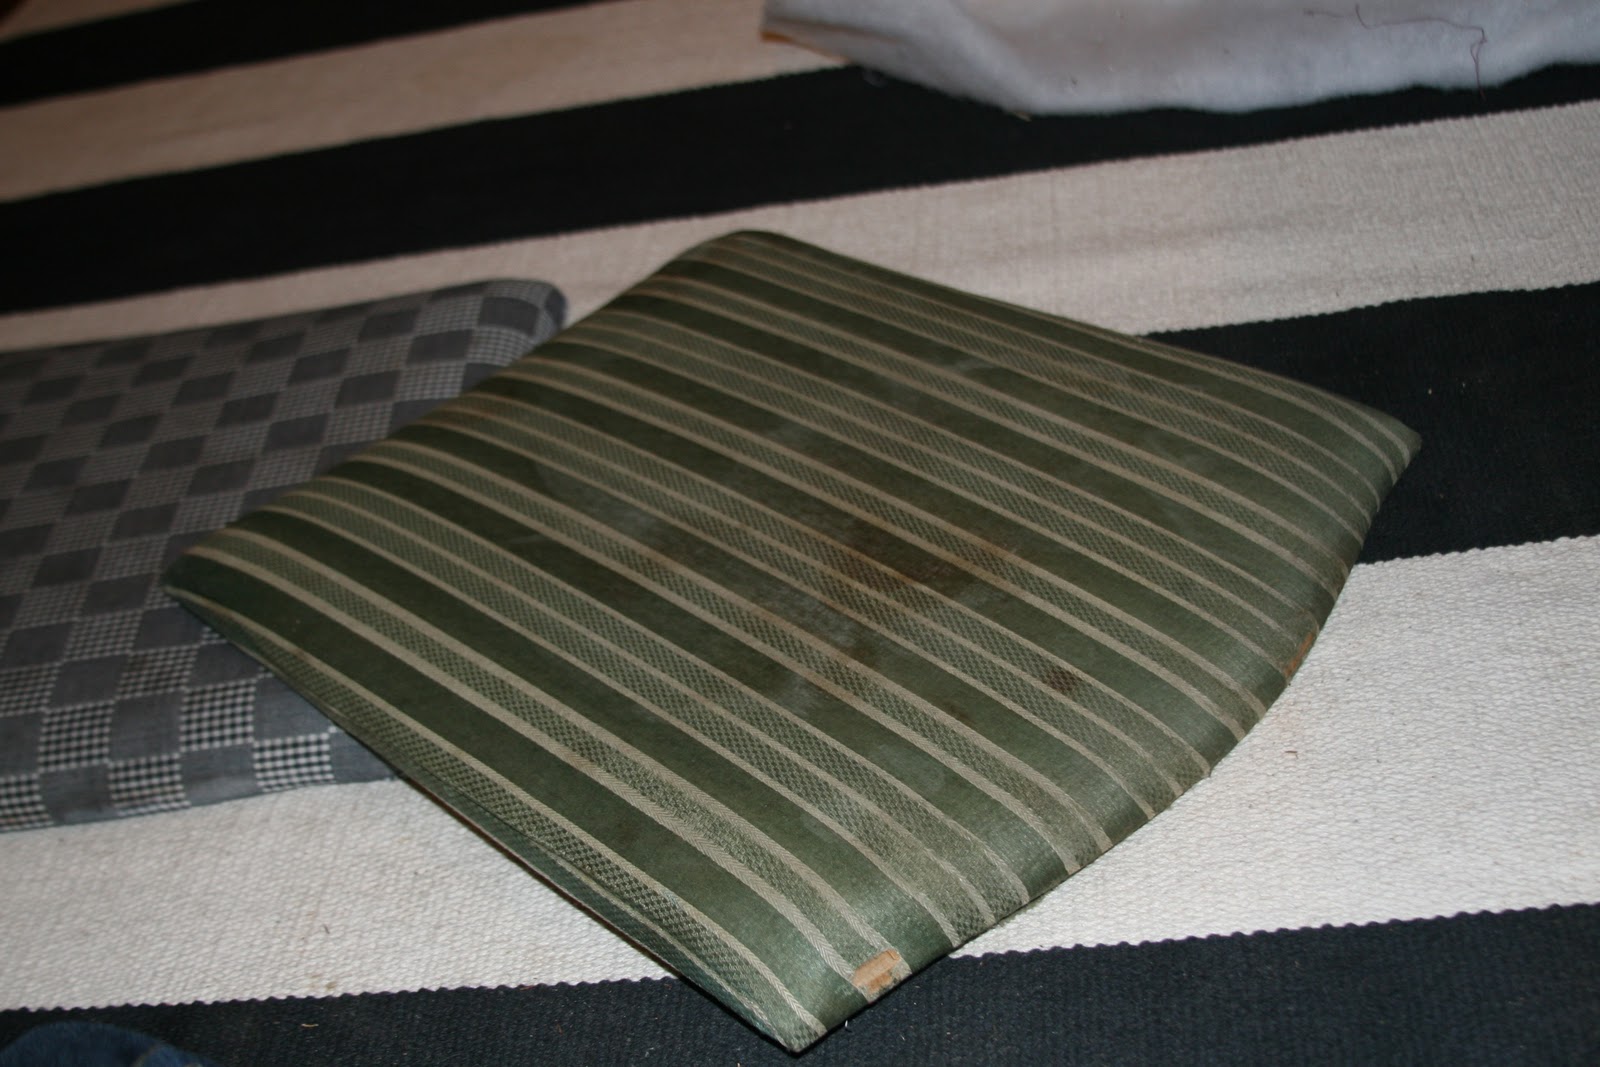
I am currently in the process of 1) completing the final two chairs and 2) finishing up recovering the cushions. I was surprised when I took off the first layer of fabric to find not one, but FOUR more layers!

Started off a nice plaid:


Then we moved onto another plaid from I would think the early 90's???


Third layer, a very dirty khaki, which I think was originally a greenish color:


Last but not least a lovely green stripe {definitely disinfected after touching these}:


Finished pictures to come soon!

Thursday, November 3, 2011

Month of Meals- November Failure & a new recipe

You may have noticed there was no post for Month of Meals {November}. That's because I don't have one. I have resorted back to my old self and cooking my old self recipes. Oh well, maybe next month. And at least I'm still cooking. 

I did make a really delicious Fall soup for Halloween that I will definitely be making again. It is easy, healthy and delicious! The perfect combination. 

Here's the recipe {adapted from Martha Stewart Everyday Food}

Pureed Butternut Squash Soup:

Ingredients:

approx. 2 1/2 pounds of butternut squash {peeled and cubed}
1 yellow onion
2 T butter
2 T ginger
2 cloves garlic {chopped}
5 cups water
1/4 c. orange juice

Directions:
1. Pierce squash with large knife and insert into microwave for approx. 6 minutes. Peel and cube {you can buy already peeled and cubed squash at Trader Joe's and most major grocery stores if you want to skip this step}. 

2. Chop onion and saute in 2T butter. Cook on medium-low heat until onion is translucent, approx. 10 minutes. 

3. Add ginger and garlic and combine. 

4. Add squash and cook approx. 2 minutes. 

5. Add water and bring to a boil. 

6. Reduce heat to low and simmer approx. 20 minutes or until squash can easily be pierced with a knife. 

7. Working carefully, puree with a hand emulsion blender or add to a blender {if using a regular blender make sure lid is off and covered with a towel as heat needs to escape while blending}. 

8. Add orange juice and serve hot. 

And these were the perfect addition to the soup:

Mom's Corn Bread Muffins

Ingredients:

1 box Krustez Corn Bread Mix
1 box Duncan Heinz Yellow Cake Mix {extra moist}
4 eggs
2/3 c. oil
1/3 c. milk {add more if mixture seems too dry}
1/2 c. cream corn

Directions:
Mix ingredients above in a large mixing bowl. Prepare muffin tin and fill with corn bread mixture. Bake  for 18 minutes at 400. 


Wednesday, November 2, 2011

One Year Birthday Inspiration

I was sure I was going to do a "bumble bee" themed 1st birthday for the little one until I saw this invitation:


And after seeing that a "balloon" themed party was in the works. 

Add a little inspiration:

I'm finishing up the invitations to be sent out in the next couple of weeks. More details to come on the finished product!

Tuesday, November 1, 2011

Gift Wrapping

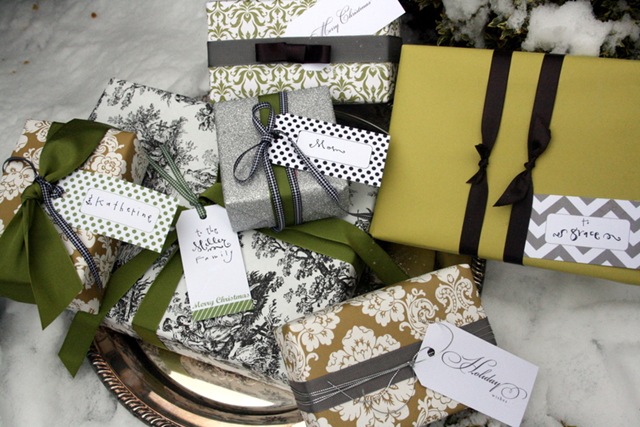
I used to be a throw-it-in-a-bag type of girl. You know one that you can buy at any Target, throw some tissue paper add a note to the already attached card and there you go, present wrapped. I always loved getting something wrapped in nice packaging; where the gift wasn't only what was on the inside but I felt I never had time to put something special together for gifts that I gave. But now that I have a bit more time on my hands I am making a promise to not slap a bow on any of my presents this year. I've been searching around and there are some really pretty wrapping papers out there and ribbons galore. 

Here are a few inspirations I'm taking with me this present wrapping season {click on image for source}. 

IMG_7962

brown kraft wrapping paper craft gift wrap project


stamp gift wrap

Here are some of my favorite sites I've come across for wrapping supplies:

www.whiskergraphics.com


www.paper-source.com

www.nashvillewraps.com


Related Posts Plugin for WordPress, Blogger...