Showing posts with label tutorial. Show all posts

Tuesday, January 15, 2013

Painting Stripes {tutorial}

I love stripes. My closet is filled with them and my kids always seem to be wearing them too. Why not bring my love of stripes to my downstairs bath? I read a bunch of tutorials online and felt pretty confident that I could do it. Look at these beautiful bathrooms I used for inspiration:


I decided to do a light and dark shade of grey {light grey is Behr - Silver Screen, dark grey is Benjamin Moore - Platinum Grey. Here is a step by step of what I did. 

1. Tape off the room. I'm so glad I covered the entire floor, apparently I'm a messy painter. 

2. The room was painted Sherwin Williams Softer Tan so first step was painting the entire bathroom the lighter grey. 

3. I measured the entire circumference of the bathroom {mine measured 260''}.  You want an even number of stripes to insure you start with a light stripe and end with a dark stripe. Using my total of 260" I decided to make my stripes 10" wide for a total of 26 stripes. 

Note: my stripes are vertical but the same concept is true for horizontal stripes, just measure total height of your wall vs the circumference. 

4. Measure and mark your stripes. I used a long level which made things so much easier and it worked as a great straight edge for marking my lines. This process took a little while but it is crucial in getting even, level stripes. 

5. Tape off your stripes. This is easy but the stripes get kind of trippy to look at once you get going. To make sure I didn't  paint a light stripe dark or visa versa I but at "G" in pencil on all the stripes that were getting painted the dark grey. 

6. Paint away. I did two coats and it turned out great. 

7. Remove your tape and admire your beautiful stripes. 

Here's how it turned out:


Art print is from here in case you were curious. 


Wednesday, October 5, 2011

Burlap Monogram {tutorial}

I had WAY too much burlap left over from when I did my burlap wrapped votives. I had no idea what to do with the left over fabric. Of course, I immediately searched "burlap" on Pinterest and was inspired by this photo:


Using the picture above as inspiration I made my own version. Here is how it turned out:


It was really quite simple to do. Here is what you'll need:
1. Printed letter of your choice in whichever font you wish
2. piece of card board for back, I used the lid of a shoe box which worked particularly well and gave it a little more depth than just a flat piece of cardboard
3. stapler
4. quilt batting cut about 3 inches larger than cardboard {on all sides}
5. burlap cut about 3 inches larger than cardboard {on all sides}
6. sharpie marker


Step 1: Staple batting around cardboard. I did two layers as my cardboard was hot pink and I didn't want any of that to come through but if yours is brown you should be good with one layer.
Step 2: Place printed monogram under burlap and trace along the outside of your printed letter. Make sure to center up the letter on the burlap so you have enough to wrap the burlap around your cardboard. You can measure or just eye-ball it.


Step 3: Color in the monogram with your marker. I went over it a couple of times to make sure it was nice and dark.
Step 4: Center and staple the burlap to your cardboard.
And your done!
This is seen on the Link Party at 320 Sycamore, projects under $10 in under 1 hour. See what other people have posted here.

This is also linked at A Little Tipsy: DIY under $5. Check it out here.

Monday, September 12, 2011

Fall Wreath {tutorial}

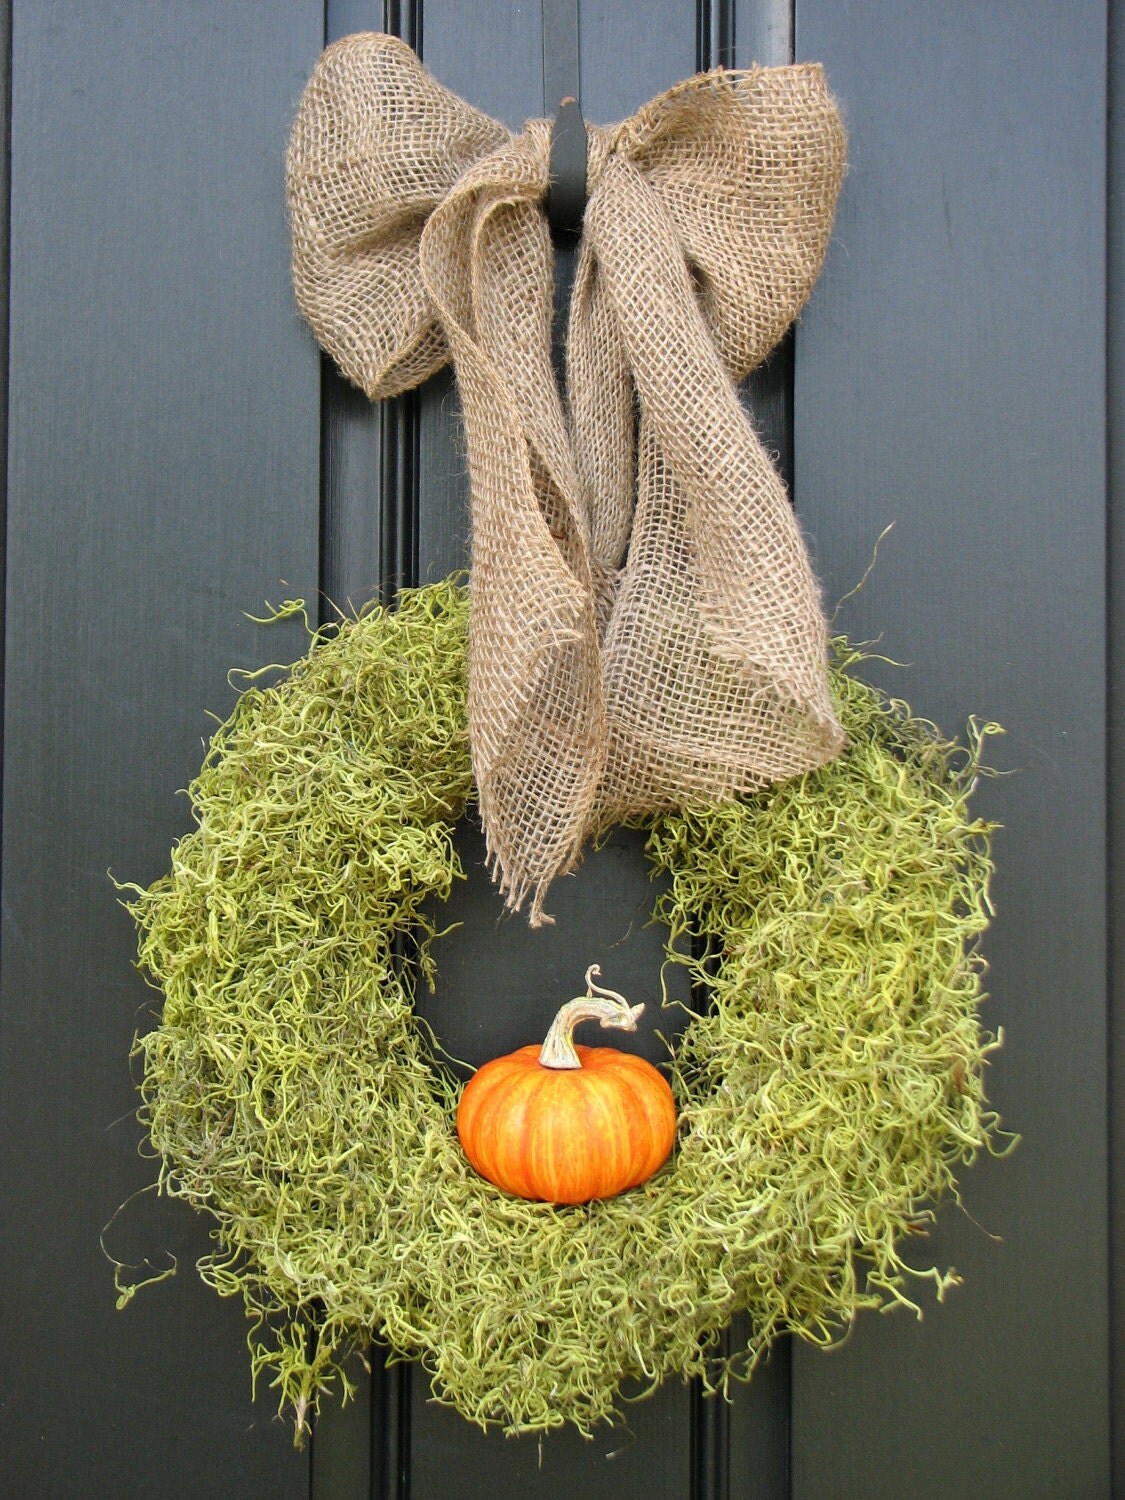
I must be in a crafty mood because I feel like I have a lot of tutorials to show you. Remember the wreath below?

Fall Wreath - It's The GREAT Pumpkin Wreath with Burlap Bow - Original

Well I got around to making my own this week. I was really pleased with how it turned out.


Here's what you'll need:
1. wreath form {Michael's $5.99}
2. green moss {I had some left over but I also saw some at Michael's for $3.99}
3. pumpkin{s} or fall decor of your choice {Michael's $1.97}
4. ribbon/burlap if you would like to hang your wreath
5. and your handy glue gun/hot glue
1. Start by covering wreath base with moss. I went around the front first, then did the inside, and finally around the back. Glue, moss, glue, moss, glue, etc....
And keep going...


2. Keep going, all the way around. Fill in any empty spaces with more moss. Here's what you'll have:
3. Add pumpkin by putting a LOT of hot glue on the bottom of the pumpkin and attach to middle of inside of the wreath.
I decided that I wanted to hang mine in my kitchen so I didn't add any ribbon or burlap. Mine is just hanging from a nail which you can't see at all because there is so much moss. It is a pretty fragile wreath so I think it might be best kept indoors. Or you could use a less fragile moss than I did and it would look great on a front door. And one last thing to note, my moss had some green dye so my nice white grout and tile turned a nice shade of green. After some bleach it is as good as new but I definitely should have put down some newspaper.

And to make my Fall wreath into a Winter wreath I'm thinking of removing the pumpkin {got to love hot glue for the ease of removing} and put some ornaments up instead.


Related Posts Plugin for WordPress, Blogger...